This Frozen Mocha Cream Pie has a crunchy almond and cookie crumb crust and a creamy, frosty, mocha filling that's both rich and light. Mocha crunch pie, as our family calls it, is a dessert fantasy come true. What's more, it can be prepared weeks ahead of time and stored in the freezer, ready to serve at your next dinner party or other special occasion (provided your kids don't get to it first like my Mom's did)!
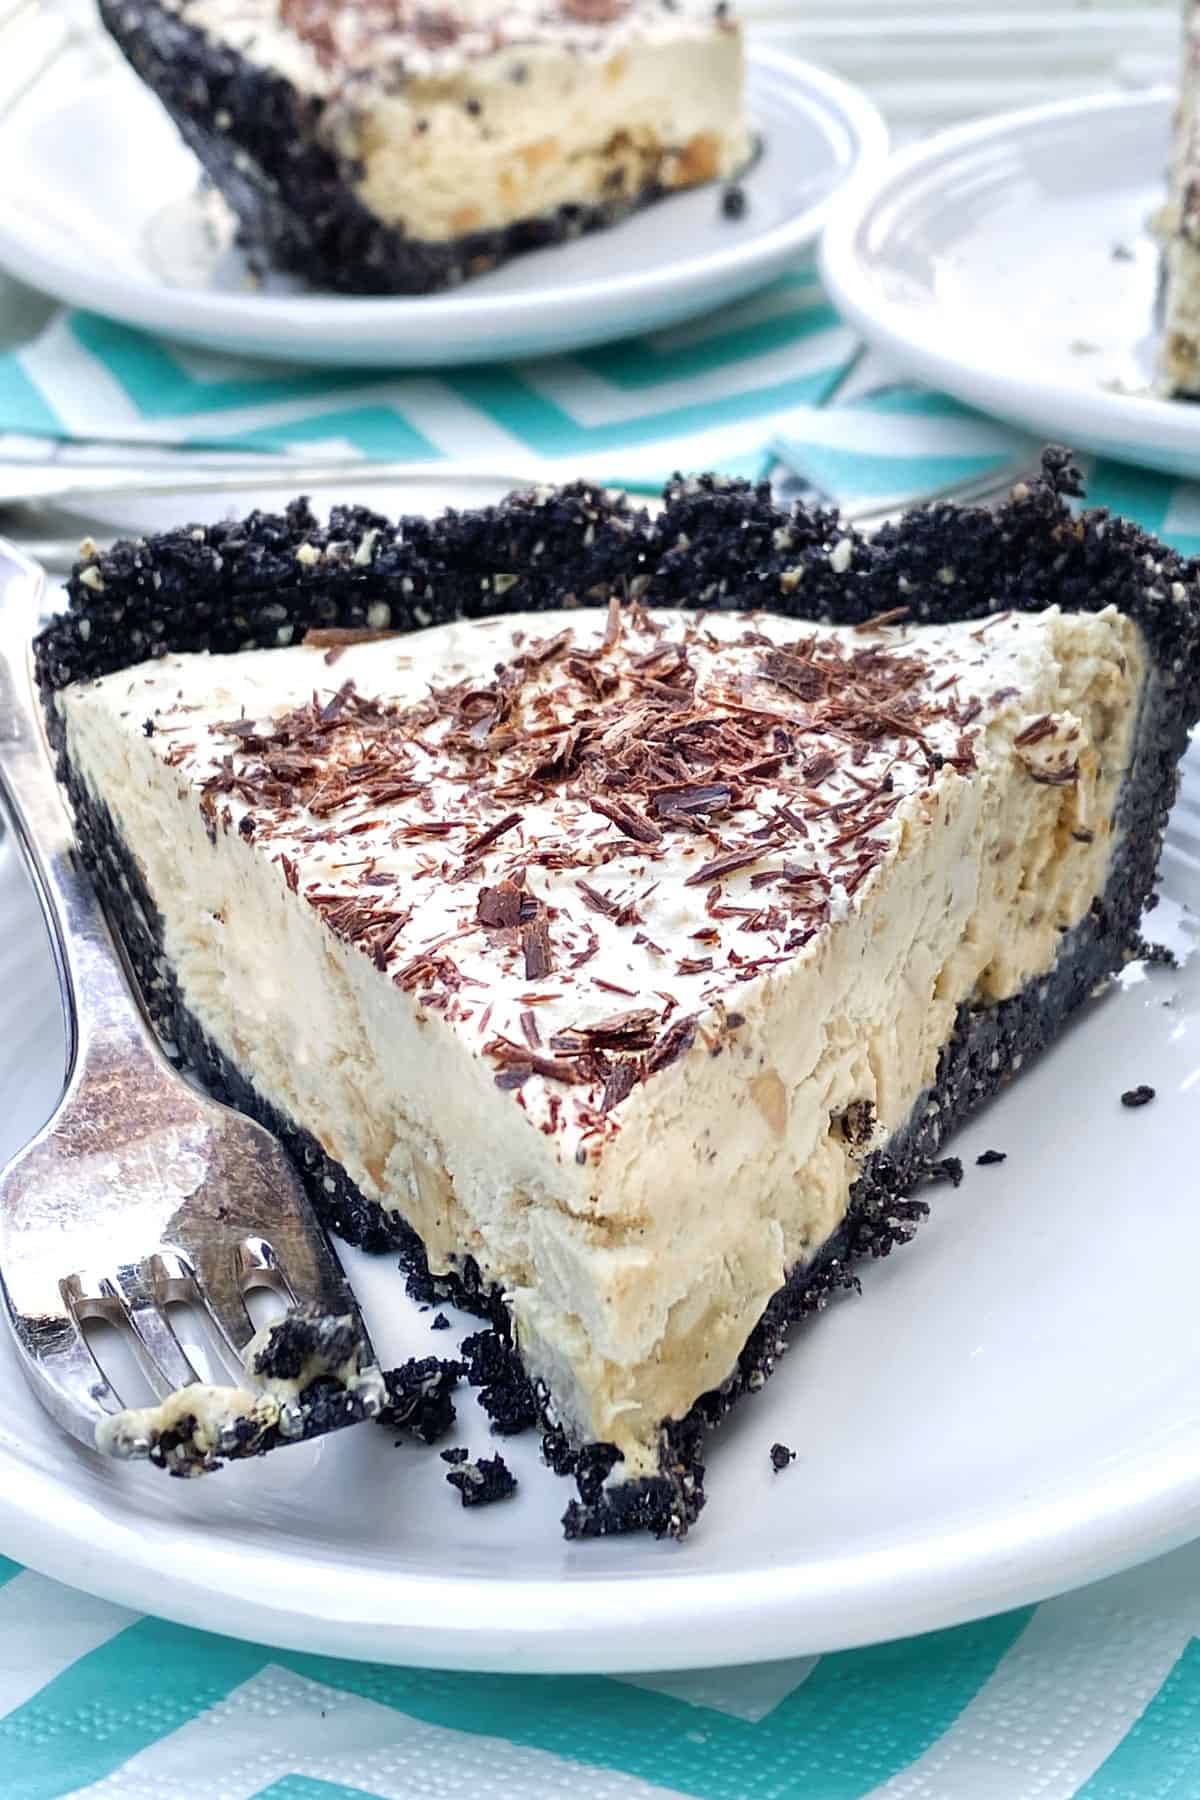
Hello everyone. This is Lisa’s husband, Eddie - I am guest blogging today to share one of my all-time favorite desserts: Frozen Mocha Cream Pie. My Mom used to make this as a special treat when my three brothers and I were kids, and it would always be devoured within five minutes of being served.
After my Mom passed away, Lisa created a beautiful book of her best recipes as a keepsake for everyone in the family. Other recipes from this book here on Panning the Globe include my Mom's famous Minestrone Soup with Beef Short Ribs and her amazing Moroccan Chicken Stew with Sweet Potatoes.
When I first attempted to reproduce Frozen Mocha Cream Pie, I found it to be trickier than I thought. The Oreo cookie crust is as simple as it is delicious, but the filling has a lot going on and I made several mistakes before getting it right. I have broken down the steps here in a way that produces a consistently excellent result. I hope you will give this recipe a try - the payoff is worth it, whether you're making it for a special occasion, a dinner party or just to have around the house for when you and your loved ones need a little something special!
HOW TO MAKE FROZEN MOCHA CREAM PIE
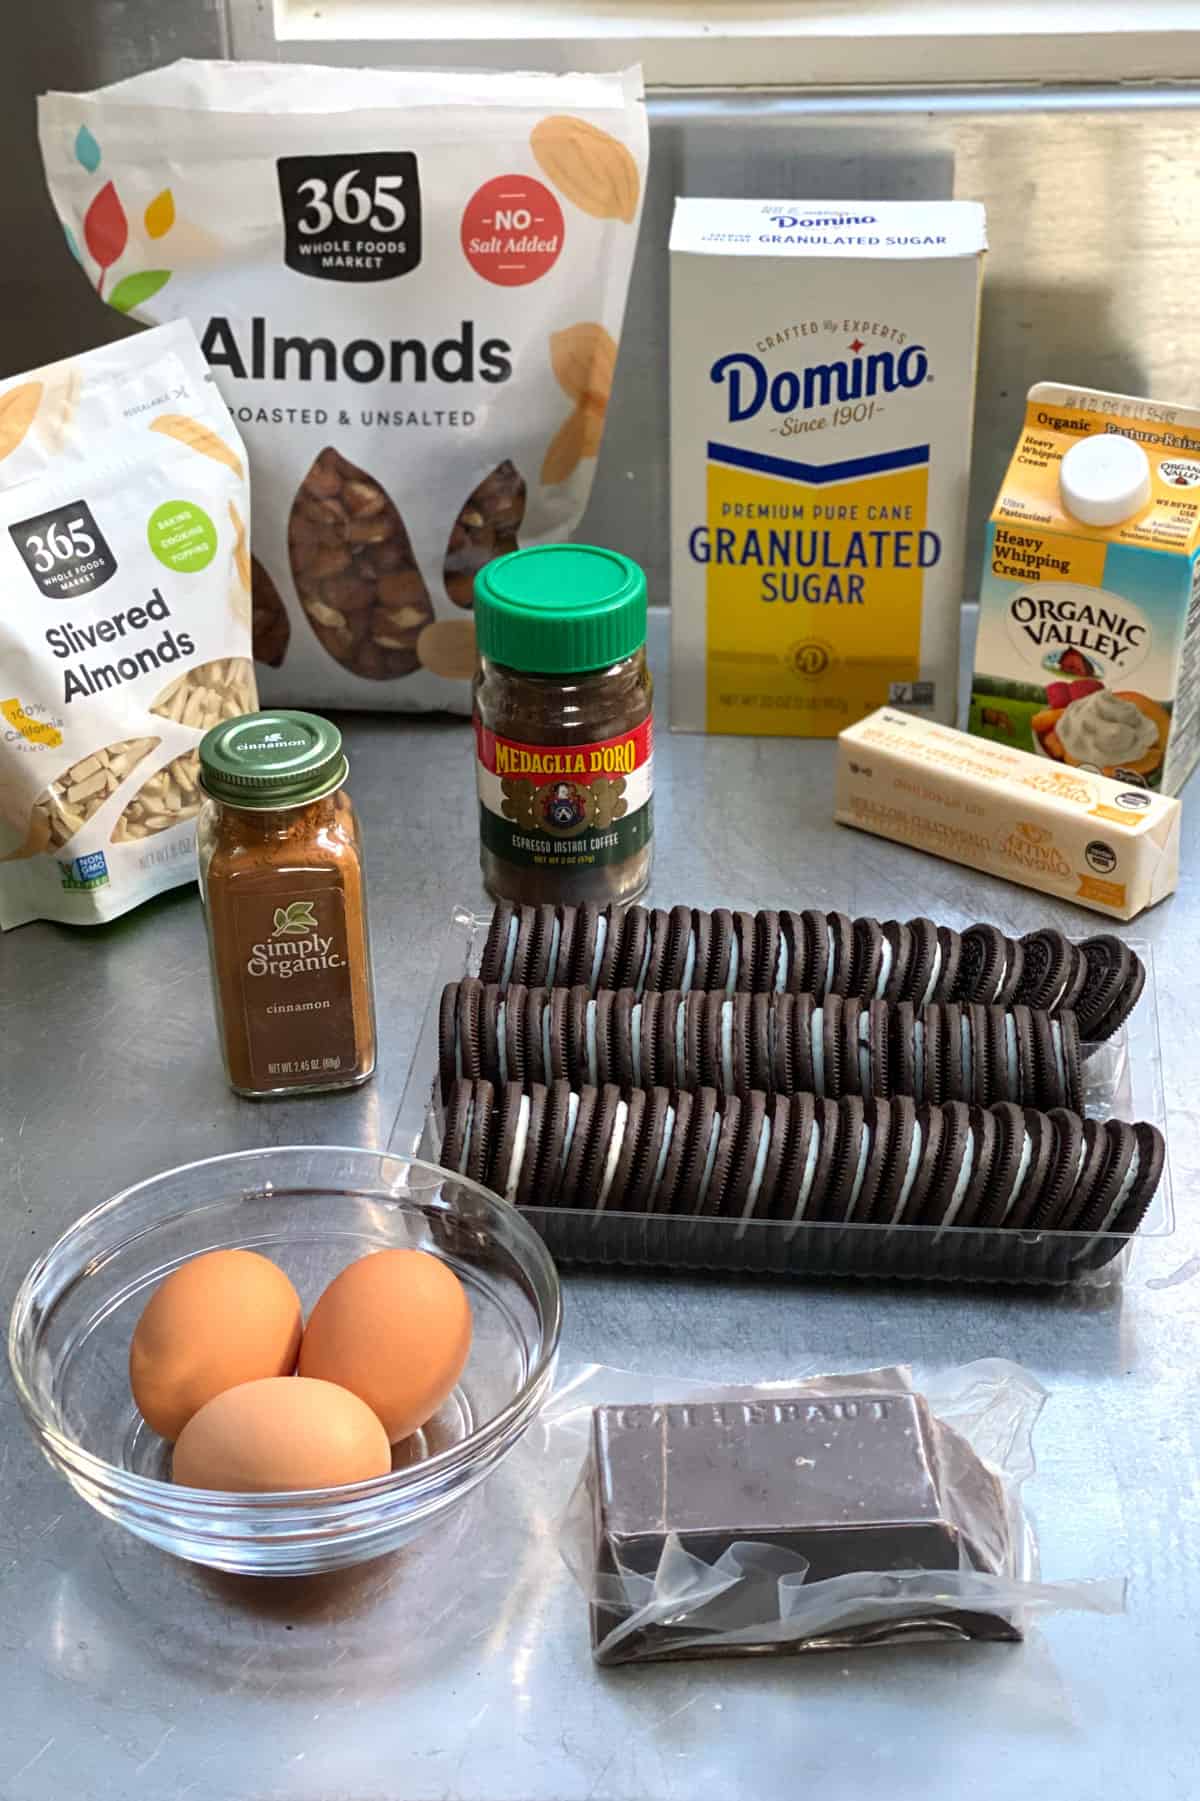
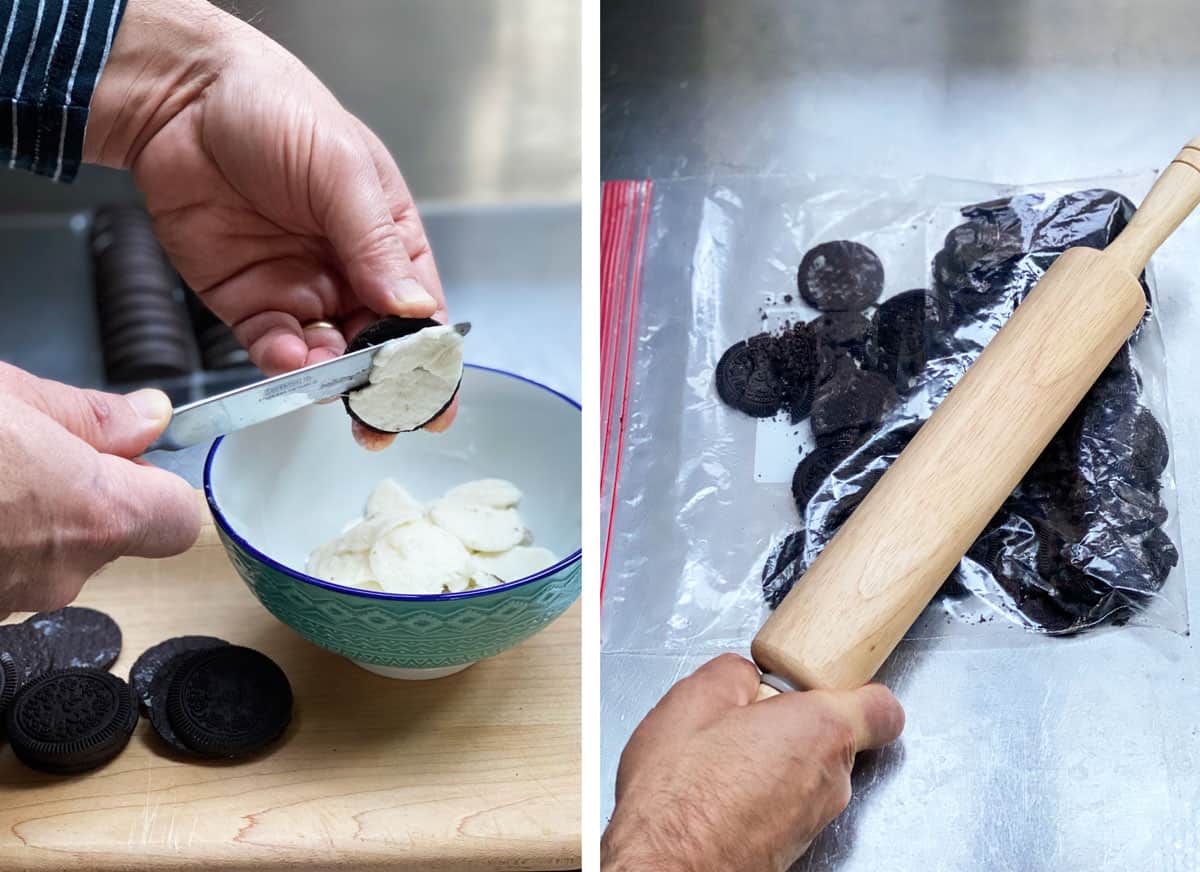
- Make the cookie crumb crust: Combine cookie crumbs, sugar, cinnamon, melted butter and chopped almonds and mix thoroughly. Press into a 9” pie plate and chill in the freezer. Note: if this is your first time making this kind of crust, you might doubt the consistency will hold together, but the melted butter is enough to bind it once it is in the pie plate and chilled.
- Whip the cream: Whip using an egg beater or a stand mixer (or by hand) until you have stiff peaks, then refrigerate.
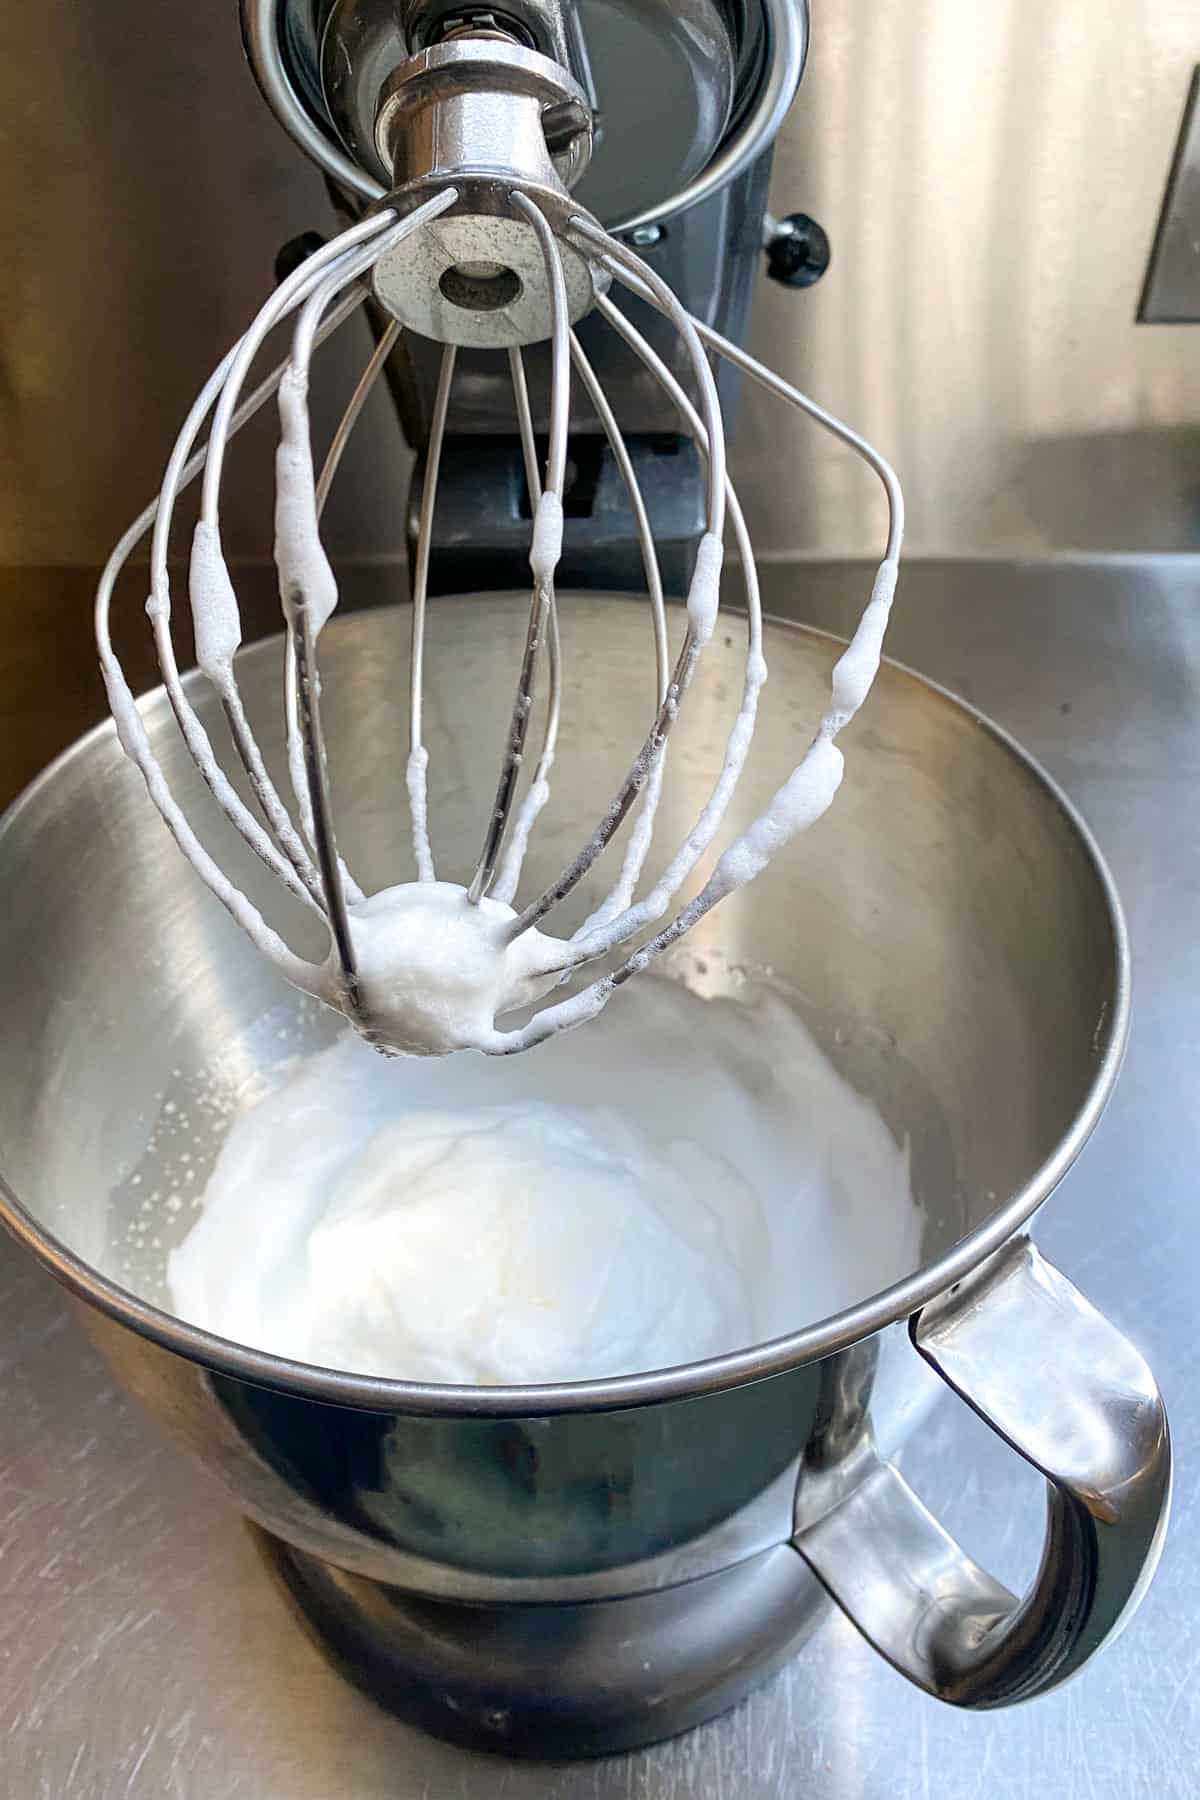
- Beat egg whites: Using an egg beater or a stand mixer, beat egg whites to stiff peaks.
- Dissolve sugar in boiling water to create syrup: Bring water and sugar to a boil and allow to boil while stirring until the temperature on a candy thermometer reaches 230 degrees. If you don't have a candy thermometer, I find in practice that when the bubbles are struggling to reach the surface due to the syrupy consistency that's close enough. If you're interested, here's more about the science behind boiling sugar.
- Add syrup in a thin stream to beaten egg whites: Continue to beat until fully absorbed and meringue is thick.
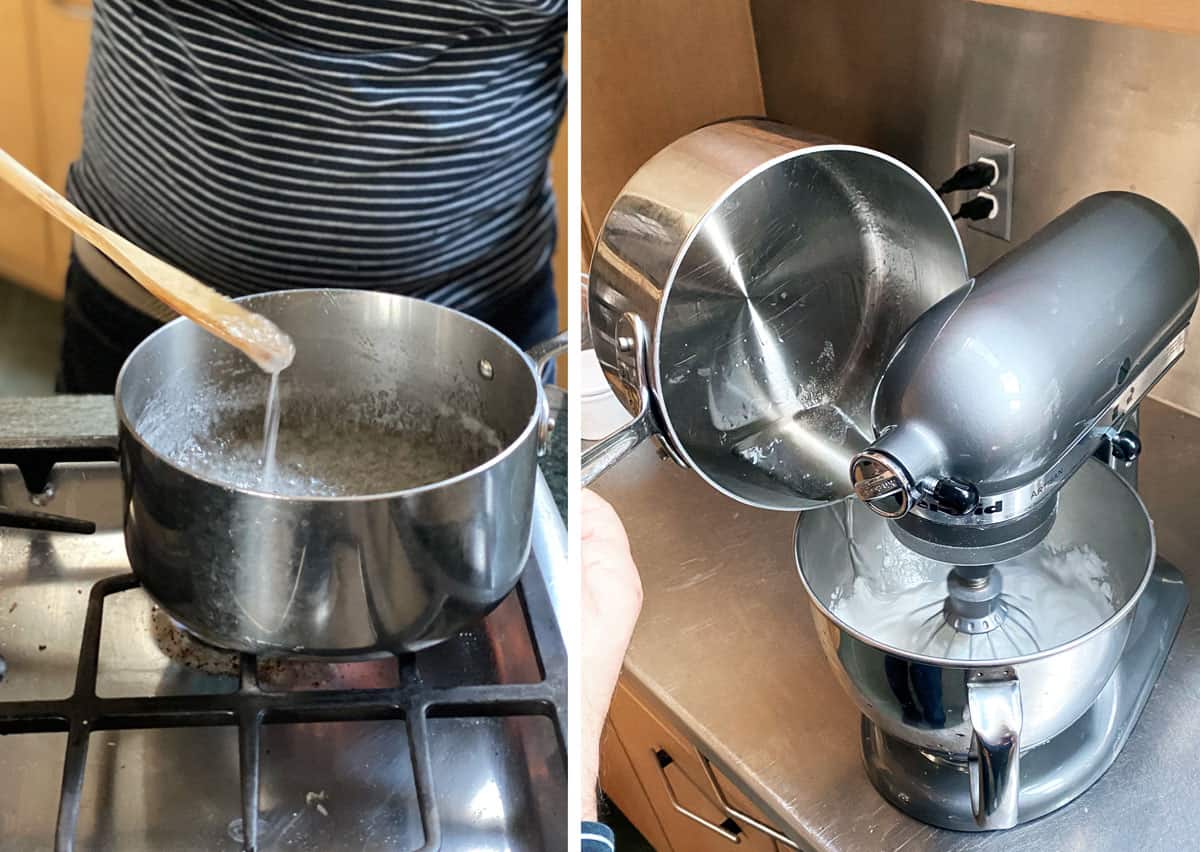
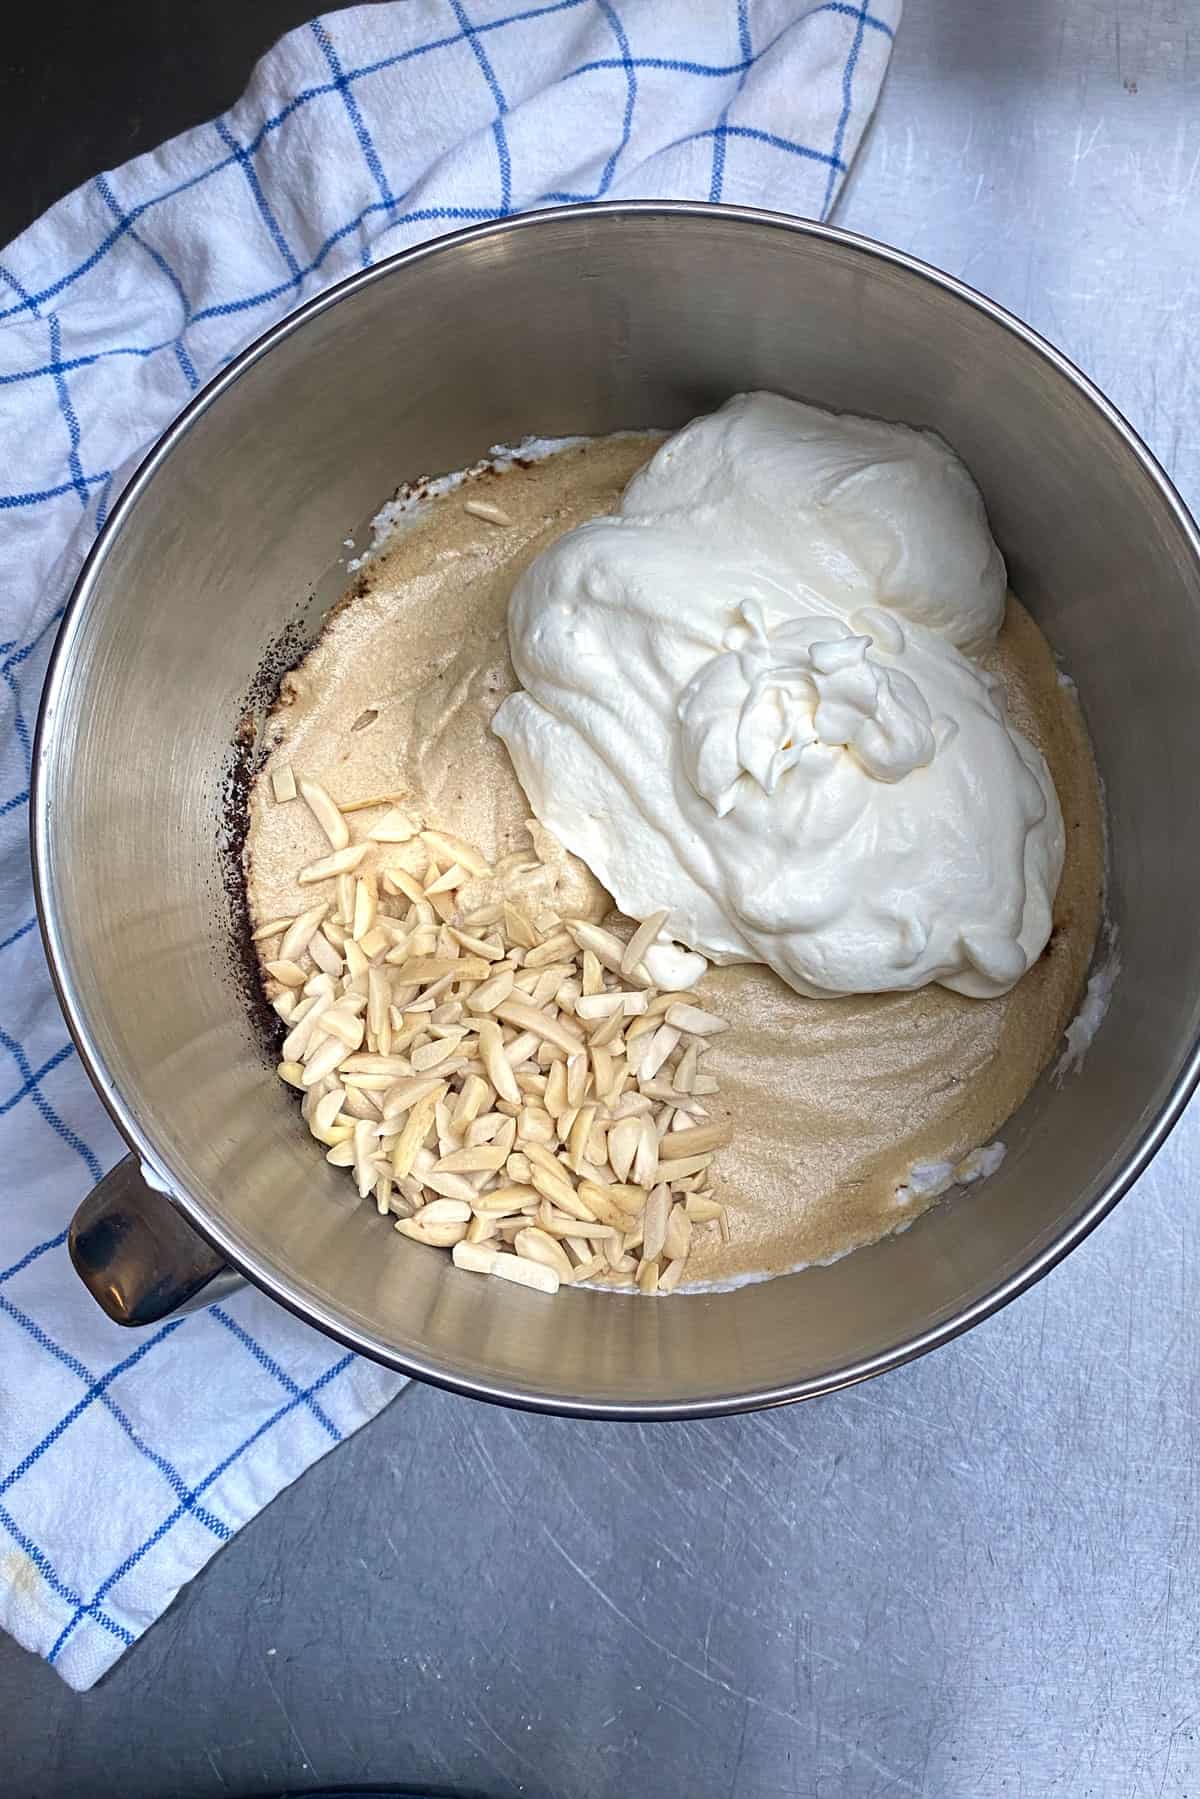
- Add instant coffee and salt, then fold in whipped cream and almonds and mix thoroughly.
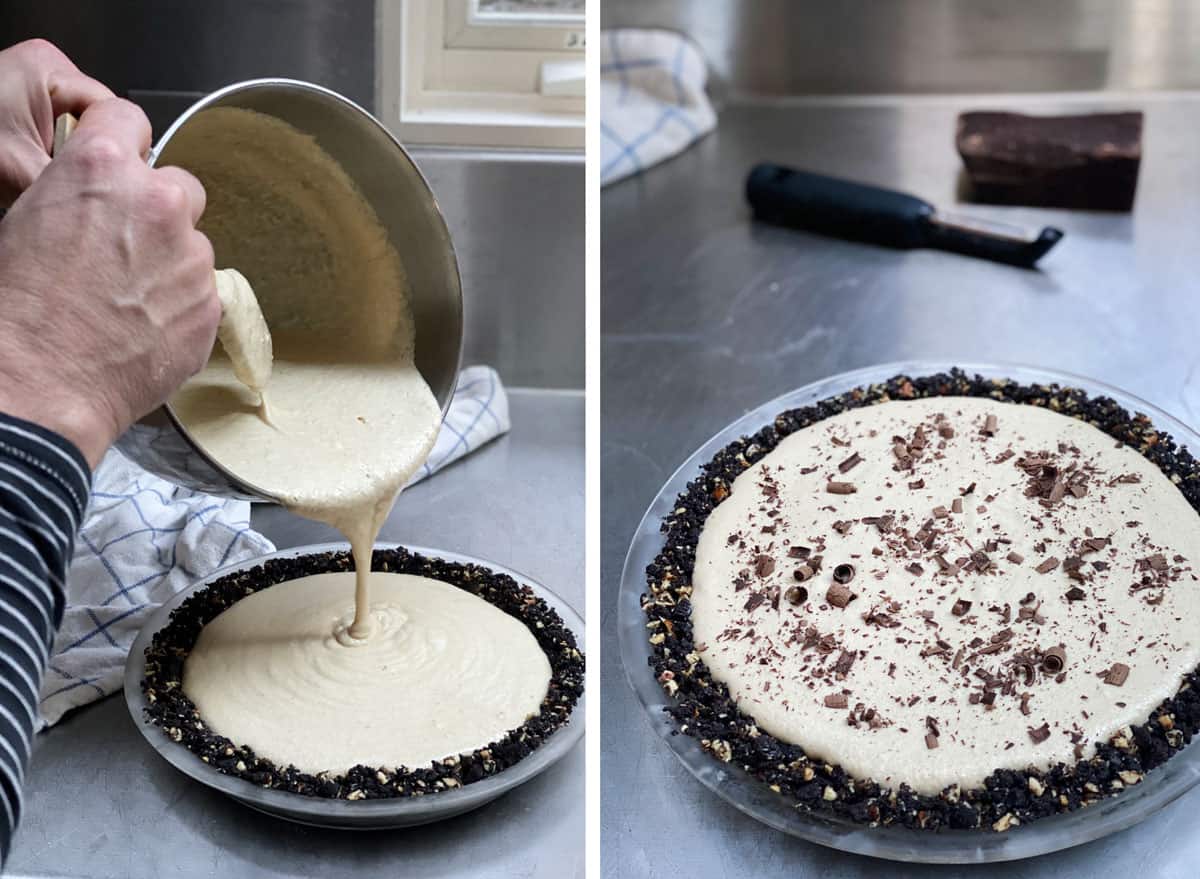
- Pour filling into the pie shell, and shave chocolate over the top. Freeze for several hours until firm.
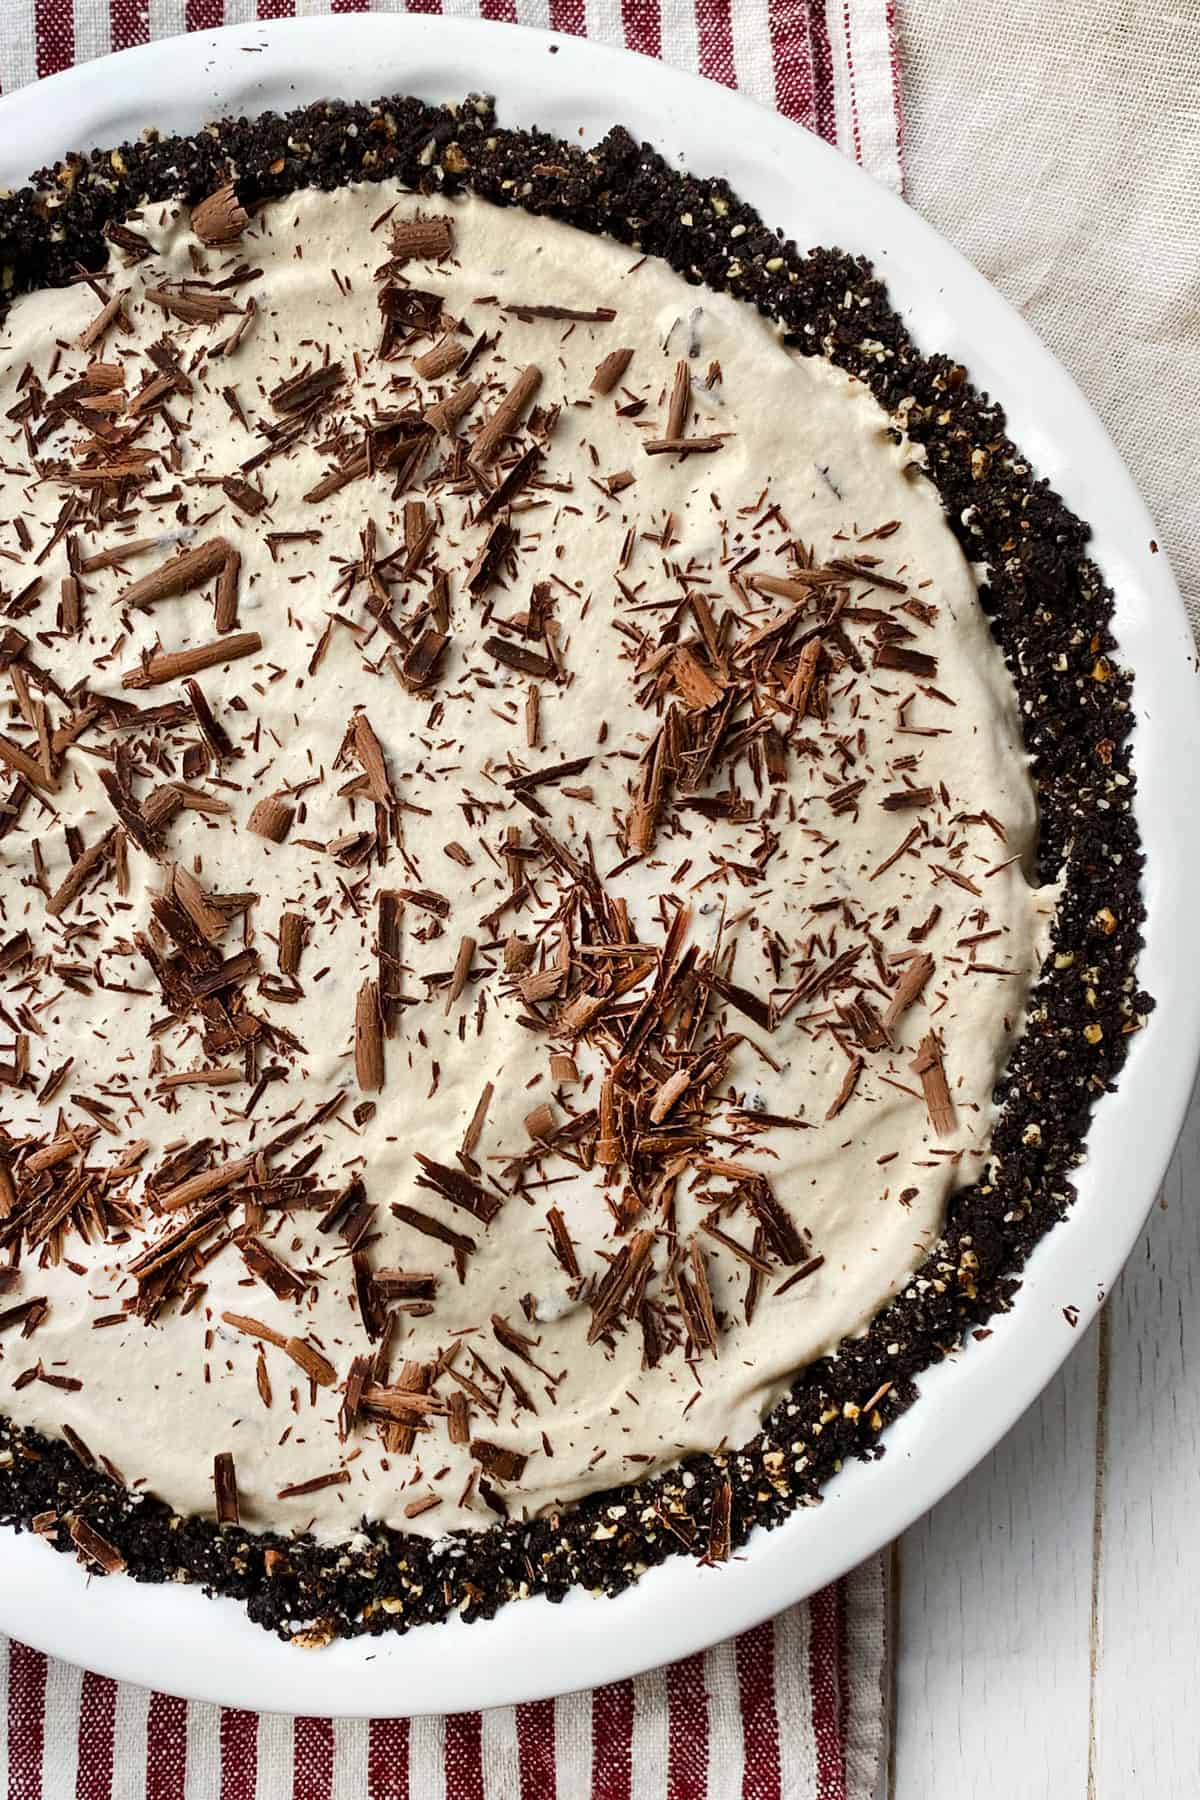
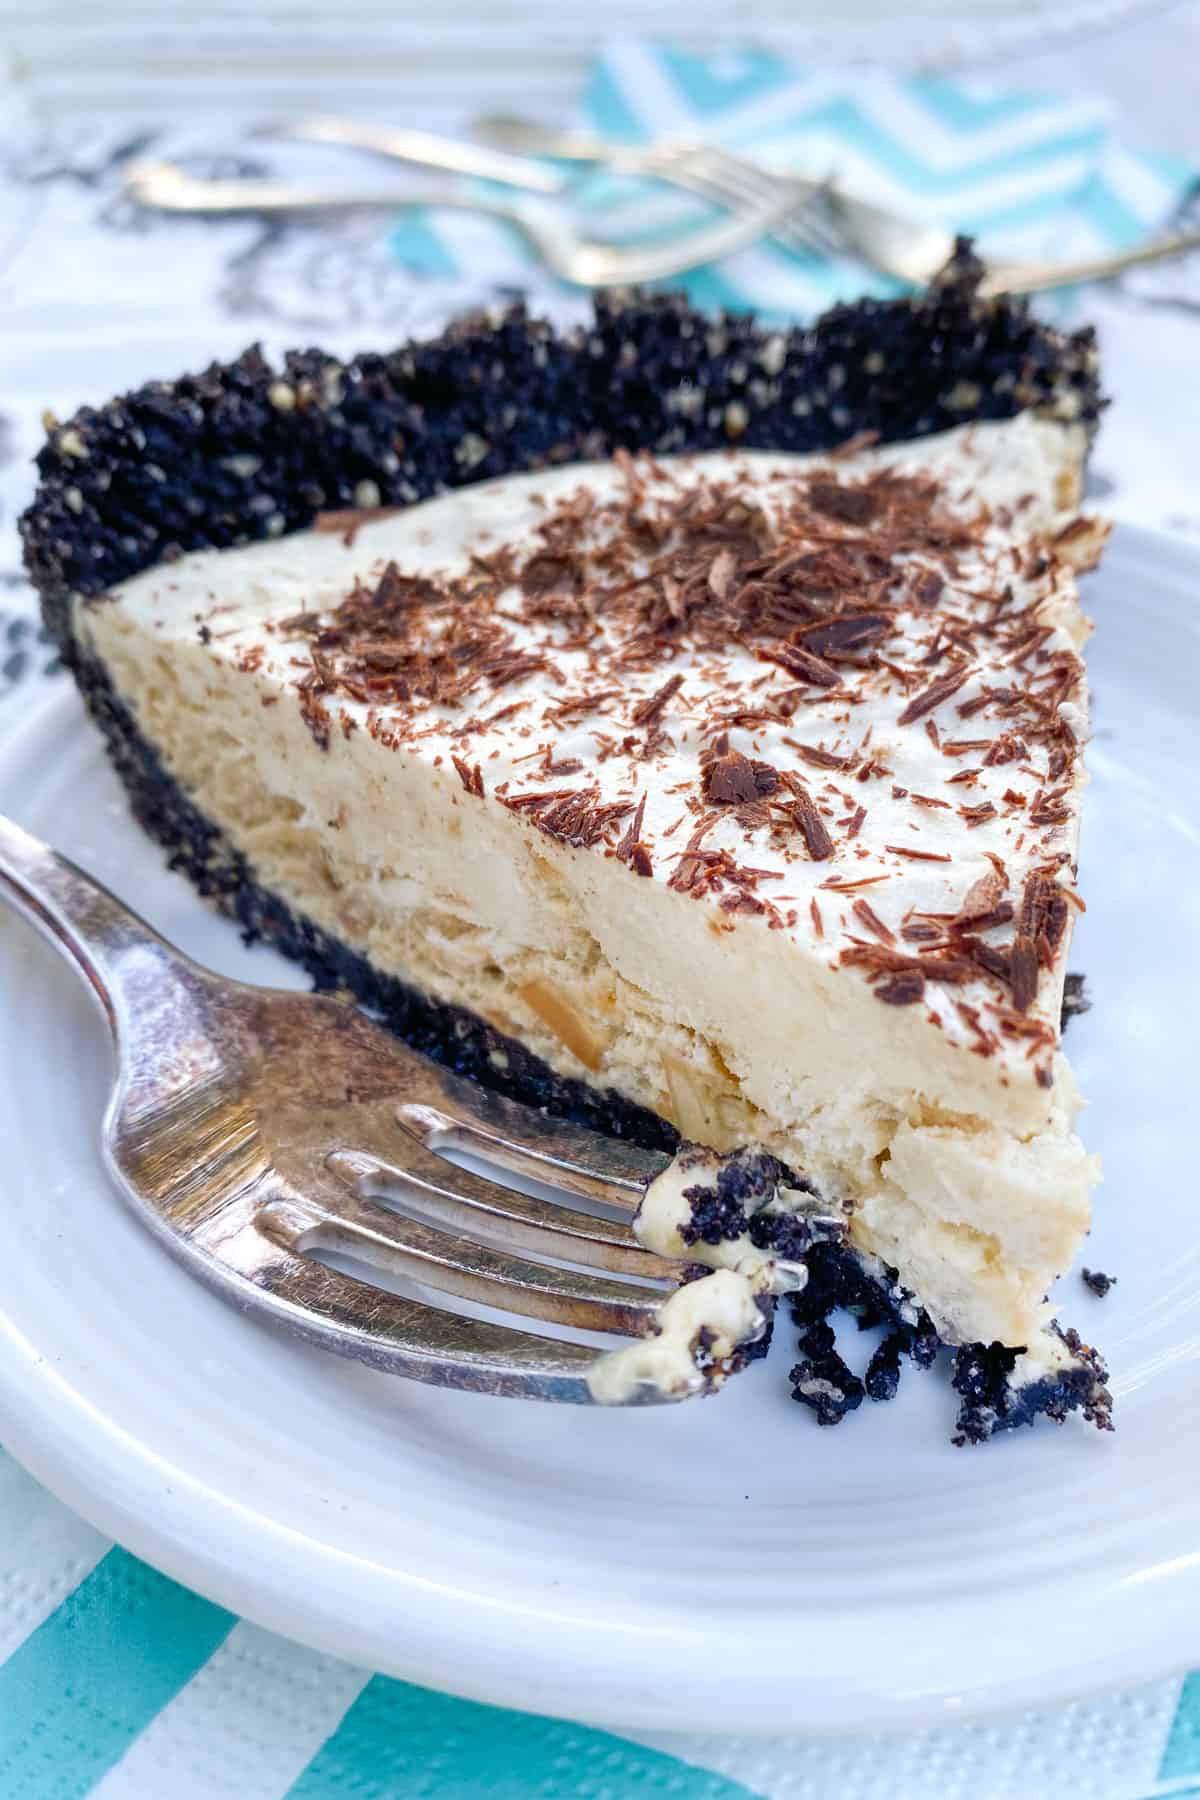
Here's the Frozen Mocha Cream Pie Recipe. If you make this, I hope you'll come back to leave a star rating and a comment. Lisa and I would love to know what you think!
PrintRecipe
Frozen Mocha Cream Pie
- Total Time: 50 minutes
- Yield: 8-10 servings 1x
Description
This frosty frozen dessert has a crunchy chocolate cookie crumb and almond crust and a creamy coffee filling. This delicious crowd-pleasing pie can be made ahead of time and stored in the freezer - ready to be enjoyed at your convenience.
Ingredients
For The Crust:
- 1 ⅓ cups chocolate cookie crumbs (from wafers such as Oreos, with the cream center removed) - see notes below
- 2 tablespoons white sugar
- ¼ teaspoon ground cinnamon
- ⅓ cup melted sweet butter
- ½ cup finely chopped almonds (preferably roasted and unsalted) - see notes below
For The Filling
- 1 cup white sugar
- ½ cup water
- 3 egg whites
- 1 Tbs instant coffee or espresso
- A pinch of salt
- 1 cup heavy whipping cream
- ½ cup slivered almonds
- Shaved chocolate, to decorate
Instructions
- In a mixing bowl, combine cookie crumbs, 2 tbs sugar, cinnamon, melted butter and chopped almonds and mix thoroughly. Press the mixture into the bottom and up the sides of a 9-inch pie pan and chill in the refrigerator while you make the filling.
- Using an eggbeater or a stand mixer fitted with whisk attachment, whip the chilled heavy whipping cream on medium high speed until stiff peaks are formed. Empty into bowl, cover and refrigerate.
- Using an eggbeater or a stand mixer fitted with whisk attachment, beat egg whites at medium high speed until they are white and smooth and form stiff peaks. Leave in the bowl.
- Combine 1 cup sugar and ½ cup of water in a saucepan. Bring to a boil and cook rapidly, stirring with a wooden spoon, until the temperature on a candy thermometer reaches 230 degrees (or bubbles are struggling to surface through the syrupy consistency). Pour syrup in a thin stream over the beaten egg whites while beating slowly. Continue beating until the meringue is thick, about 3-4 minutes. Beat in the coffee and salt, then fold in the whipped cream and slivered almonds.
- Pour the filling into the pie shell and garnish with shavings of chocolate (I use a potato peeler for this purpose). Note, depending on the height of your pie plate, there may be more filling than you need. This excess can be frozen in a container and eaten like like ice cream.
- Freeze for several hours, until firm. Once firm, cover with two layers of plastic wrap and one of tinfoil. Pie will keep in the freezer, tightly covered, for up to a month.
To Slice and Serve:
- Slice with a sharp knife and then insert a metal spatula or pie knife into each slit and push down firmly, to cut through the frozen crust. Be sure to do this for each slice to ensure the pieces come out cleanly. (See notes below for more on slicing and serving) Serve immediately.
Notes
Helpful Tips:
- To make cookie crumbs for the crust, pulse the chocolate wafers in your food processor with the chopping blade attachment or place in a ziplock and bash with a rolling pin.
- To chop the almonds for the crust, pulse in your food processor with the chopping blade attachment or chop finely by hand.
- To make it easier to slice and serve the pie without it sticking to the pie pan, immerse the bottom of the pie pan in a rimmed baking sheet filled with hot water for a few seconds or use an extendable kitchen faucet hose to run some hot water over the bottom of the pan.
- Prep Time: 50 mins
- Cook Time: 0 mins
- Category: Dessert
- Method: No Bake
- Cuisine: American




Kathy G
Whoa!! I just made this for a dinner party we had last night. I broke it out at the end of the evening and everyone loved it! So delicious. Something about the lightness of the filling against the crunchiness of the crust. I am making another one for Christmas so the whole family can enjoy. And I never make desserts!
Teri Strong
This is incredible! I wish I could give it 10 stars! I was worried about the length of time to cook the sugar because I didn't have a candy thermometer, but everything worked out perfectly! I served this to friends and they were blown away. I'm going to make another one soon and keep it in the freezer until New Year's Eve. Yum!!!!
Charlie Slack
In high school we were all in love with Ed's Mom. She was a beautiful woman in every way--warm, kind, artistic, gorgeous.
And then, well, there was the mocha pie. When a few of us were over and Ed would let slip that Mom had tucked one away in the basement freezer, conversations were pretty much finished for the evening. We'd find our way into the kitchen and start a slow chant -- "Mocha. Mo-cha. Mo-CHA!"
Ed, ever the showman, would let the tension build for awhile and then disappear and return bearing the pie like a holy offering. Within a couple of minutes there might be one small piece left in the tin. And if you've seen those movies set in the desert, where ragged souls stare at the canteen and then into each others' eyes, you know how we felt about one another, relative to that last slice of mocha pie.
Eddie
Haha Charlie - you captured the scene so perfectly! Thanks also for the kind words about my Mom, we all loved her so much. And she loved you too.
Jennifer Jostyn Goldyn
This looks SO good and perfect for the holidays. I can't wait to make. Thank you so much, Lisa!!
Lisa
Thanks Jen! Happy Holidays xx