Good things don't always come easy. Part of the reason you haven’t heard from me in over a week is that I’ve been wrestling with Tarte Tatin.
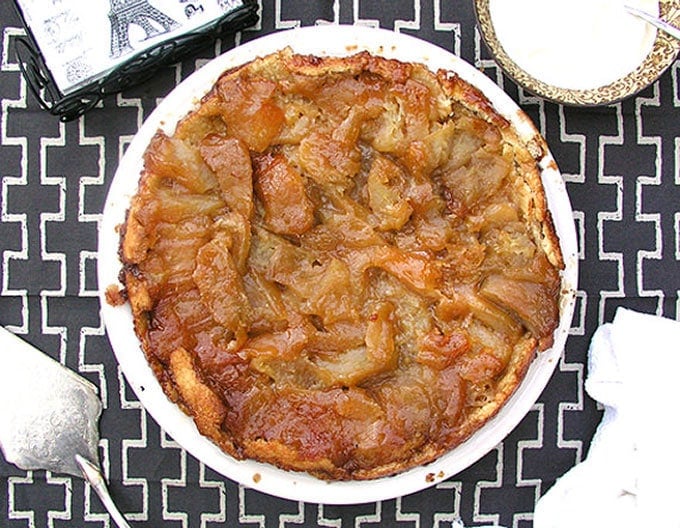
After several failed attempts I finally have some answers. My hope is that you will succeed the first time by learning from all of my mistakes.
Let’s talk about the good stuff first: I love a dessert that can be made in my cast iron skillet! Tarte Tatin is the French name for a famously delicious upside down apple tart. The apples are caramelized with butter and sugar in a skillet. A disc of pastry is placed on top and the skillet goes in the oven. When it’s ready, it’s inverted onto a platter crust down, revealing all the delicious buttery, caramel-glazed apple slices on top. Served with a dollop of whipped cream or Crème Fraîche, Tarte Tatin is a heavenly dessert!
There are differing historical accounts as to the origin of Tarte Tatin. Its name undisputedly comes from the Hotel Tatin in France, which was owned by two spinster sisters in the 1800's. The debate is whether or not it was invented deliberately or happened by accident. One theory is that one of the sisters, Stéphanie Tatin, was cooking apples in butter and sugar for traditional apple pie and got distracted.
When she found that the apples were overcooked, in a quick rescue effort she threw the crust on top and put the whole thing in the oven, then flipped it over and served it to hotel guests who gave it rave reviews. Is this the true story of Tarte Tatin? If you are intrigued and want to know more, I found a fun website called "Friends of The Tart Tatin" that appears to have everything you could ever want to know about this famous confection.
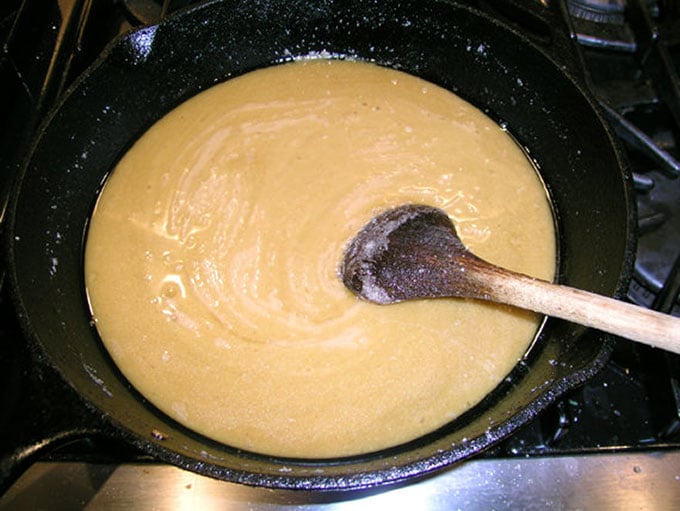
OK, now it's time to explain the potential stumbling blocks of Tarte Tatin, as I encountered them. This was not an easy endeavor for me, as I have said. Firstly, as I often do before attempting a new dish, I pored over many Tarte Tatin recipes, including one from Julia Child. I found quite a lively debate amongst some very capable chefs about the best way to make this rustic tart.
Some chefs fully caramelize the sugar and butter before adding the apples. Some caramelize the apples, sugar and butter together. Some suggest a shorter oven time with higher temp and some say cook it longer in the oven with a lower temp. Even Julia Child, in her book "The Way to Cook," writes about her trials and tribulations with Tarte Tatin falling apart, sticking to the pan, and such. She persevered, changing her Tarte Tatin recipe four times before she was satisfied.
I read so many Tarte Tatin recipes, and tried so many different approaches, I'm not even sure, in the end, who's techniques I've adapted. All I know is that it took me several tries, but I finally made a Tarte Tatin that came out great!
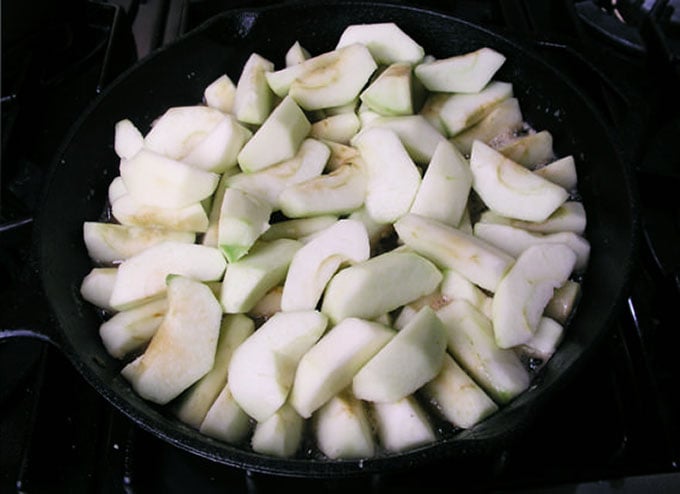
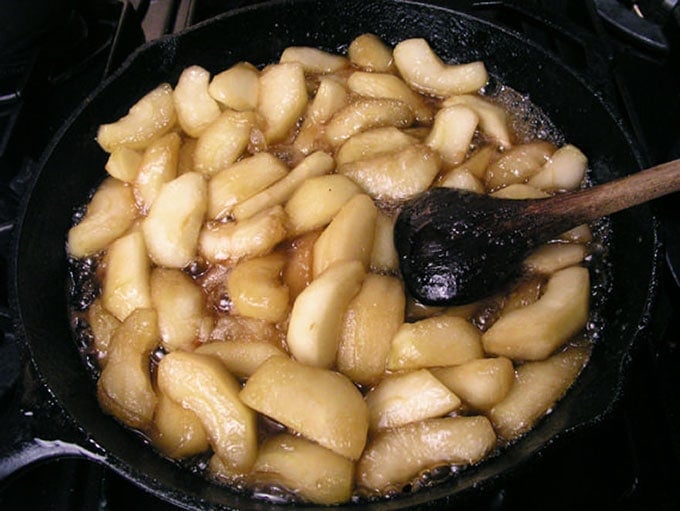
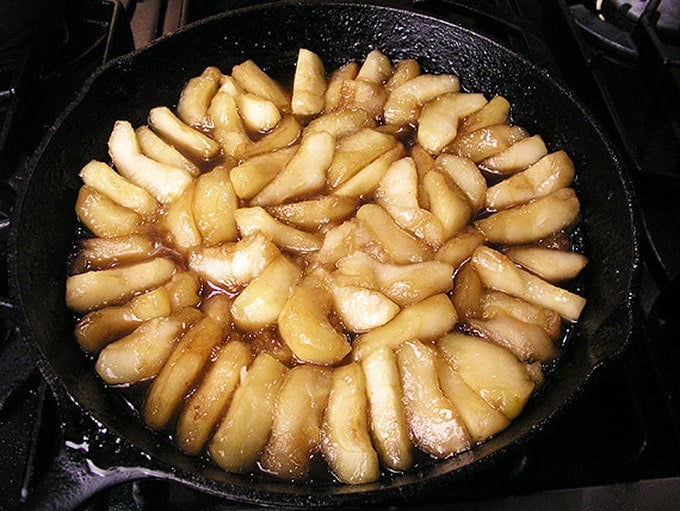
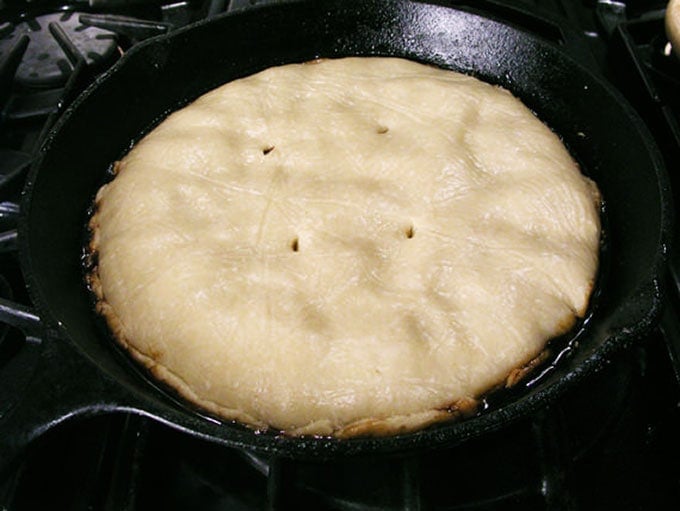
I hope I haven't dissuaded you from attempting to make this. It's far too delicious to skip over. Here are some tips that I think will be helpful: 1. Use Granny Smith apples or another firm variety of apple with a low water content. You don't want the apples turning to applesauce while you're trying to caramelize them. 2. When you caramelize the sugar and butter, as soon as it is a light caramel color, remove it from the heat so it doesn't burn while you add the apples. 3. Be sure your oven rack is in the center of your oven so you have a truer cooking temperature. (see Real Simple's explanation of oven rack positions) 4. Slide a knife between the crust and the side of the pan before you flip it, and don't despair if you have to do a little repair job after the flip. This is a rustic tart, so perfection doesn't mean symmetry. 5. Top with whipped cream, ice cream, or Crème Fraîche and enjoy!
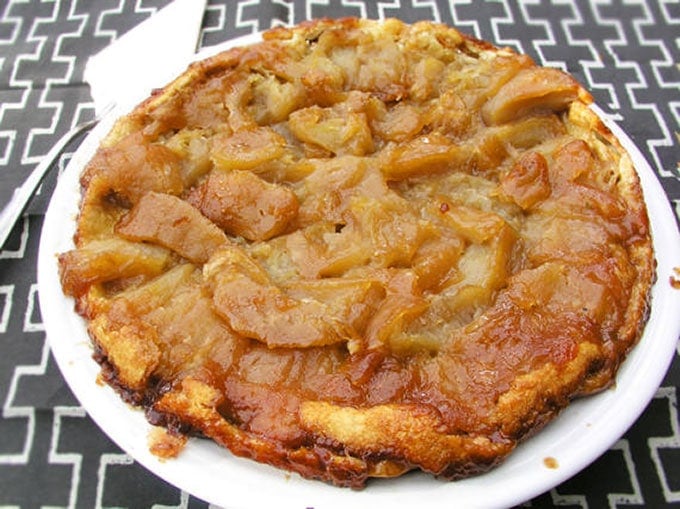
Here's the Tarte Tatin Recipe. If you try this recipe I hope you'll come back to leave a rating and comment. I'd love to know how your Tarte Tatin turned out!
Print
TARTE TATIN
- Total Time: 1 hour 50 mins
- Yield: 8 1x
Description
famously delicious French tart, featuring buttery caramelized apples on top of a flaky crust
Ingredients
- Dough
- 2 cups all-purpose flour
- 1 tablespoon sugar
- ½ teaspoon salt
- 9 tablespoons chilled unsalted butter, cut into ½-inch pieces (1 stick plus 1 tablespoon)
- 6 tablespoons ice water
- Apples
- 9 Granny Smith apples
- Juice of one lemon
- 1 cup sugar
- 1 stick of butter, cut into ½-inch pieces
- Equipment
- Food processor fit with a blade
- Waxed paper
- Rolling pin
- Large oven-safe skillet
Instructions
- Make the dough Put flour, 1 tablespoons sugar, and salt in the bowl of a food processor and pulse to mix. Add chilled butter and pulse 15 to 20 times until butter is in pea-sized pieces. Remove the lid and pour in the ice water. Pulse until the dough starts to form clumps and will hold together when you press it. Transfer the dough to a large square of waxed paper on a work surface and form it into a ball, then flatten it into a disk. Cover with a second sheet of waxed paper, the same size, and roll it to the edges of the waxed paper, into a 12-inch circle. Chill it in the fridge for at least 1 hour.
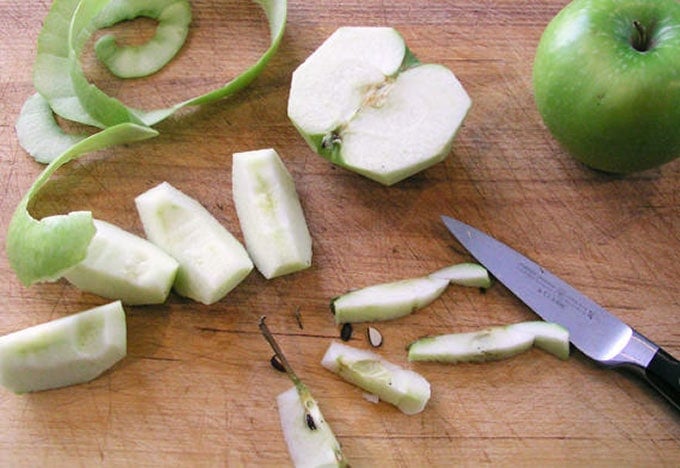
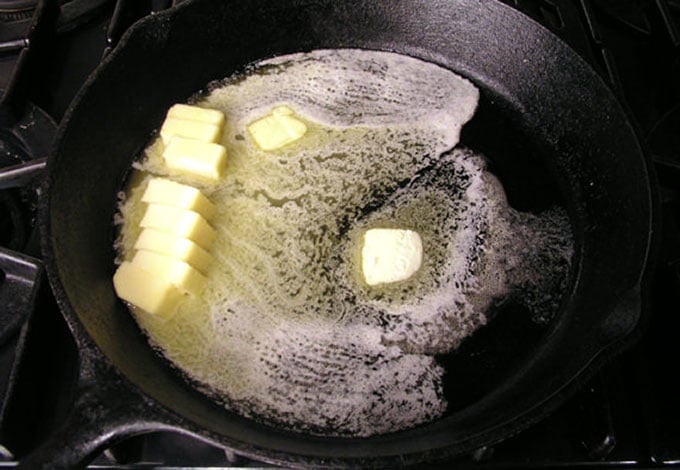
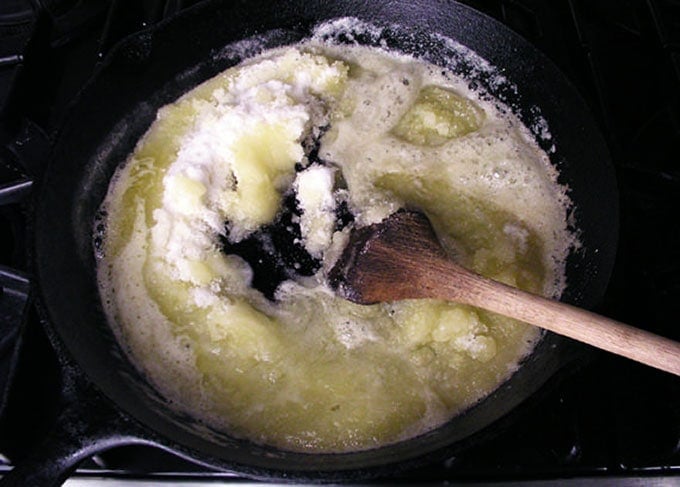
- Make the caramelized apples Preheat the oven to 400ºF. Pour the lemon juice into a large bowl. Peel the apples. Slice them in half. Slice each half into 4 wedges, and trim out the cores. Put the apple wedges in the bowl and toss with the lemon juice. Set aside. Melt the stick of butter in a large cast iron or other oven-ready skillet. (I use a 12-inch skillet for this recipe. If you have a smaller skillet, proceed with the recipe as is, scooping out some of the caramelized apples before adding the dough on top, if they are overflowing. You will also need to trim more off the edges of your dough as you lay it on top of the apples.) Once the butter is melted, add the sugar and stir constantly over medium heat for about 5 minutes, until the mixture turns a light caramel color, but is still grainy. Remove the skillet from the heat and spoon the apples on top. (Don't worry if it seems like too many apples. They shrink a lot as they cook) Return the skillet to medium heat and cook, tossing and stirring gently and constantly, with a wooden spoon, for 10-15 minutes. The apples will release their juices and everything will bubble and thicken and caramelize.
- Final steps before baking When you have a light caramel color and sticky thick looking bubbles, remove the skillet from the heat. Using a butter knife, gently nudge the apples into a pretty pattern, rounded side down. Pile extra apples on top. They will sink down as they cook. Remove your dough from the fridge and peel off the waxed paper. Lay it over the top of the skillet, trimming off any excess with a sharp knife or scissors. Let it soften enough to tuck down the edges between the apples and the side of the skillet. Poke four little holes in the dough for steam to escape. Place the skillet in the middle of the oven and bake for 30 minutes or so, until the crust is light golden brown.
- Remove the skillet from the oven. Run a knife around, between the crust and the edge of the skillet. Place a plate that is a bit larger than the skillet over the top of the skillet. Using oven mitts and a lot of determination to hold the plate and the skillet together, perform a quick flip. Carefully lift the skillet up and make any necessary repairs. Serve with a dollop of ice cream, whipped cream, or Crème fraîche and enjoy!
- Prep Time: 1 hour
- Cook Time: 50 mins
- Category: Dessert
- Cuisine: French



Pye Hope Simpson
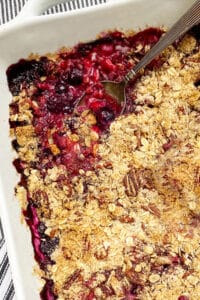
I love this recipe and how you describe it. I made the apple bit the day before and had every intention of making the pastry topping but ran out of time and then the dining location was changed. So I put the apple in a glass dish, added some apple pie seasoning, threw together a crumble / crisp topping, bunged it in the oven for a bit and hey presto! Easy peasy. Every one loved it so thank you very much. This will be a ‘go to’ recipe from now on. The only thing I added was some dried cherries soaked in rum.
Lisa
Thanks for your great review of my Tarte Tatin. It sounds like you put your own wonderful spin on the recipe and I'm so glad it was loved by all. 🙂
Nicollet
This is one of my favorite pies to eat, but I've never tried making it. I've heard it's tricky to make but you seem to have nailed it! This recipe went pretty well for me, even though I used a different type of apple. Gotta love the French and their butter in everything. Excited to replicate it for the holidays!
Jim
I've made Tarte Tatin with varying results. However I just love how you have captured your trials and tribulations into this classic dish.
Now I am scanning your recipe collection to see what I might make tomorrow. Your site is in my favourites list!
Lisa
Thank you Jim. I'm glad to have you aboard. Yes, Tarte Tatin is a challenge for sure. I guess I'm not alone in that discovery:) I hope you find some Panning The Globe recipes that you enjoy!
ciana
This is the best tarte tatin I have ever tasted!
Barbara Joseph
This looks amazing - I will definitely try this next fall with our home grown apples in VT!
Alina
Wish I was your neighbor for the leftovers if any.....Looks fabulous!
Tracy
Wonderful post and recipe!